

How To Download Kali Linux On Windows
Introduction
Kali Linux is a Debian-derived Linux distribution designed for penetration testing. With over 600 preinstalled penetration-testing programs, it earned a reputation as one of the best-operating systems used for security testing. As a security-testing platform, it is best to install Kali as a VM on VirtualBox.
Kali has a rolling release model, ensuring up-to-date tools on your system. Also, there is an active community of users providing ongoing support.
This step past step tutorial shows you how to install Kali Linux on VirtualBox.
Prerequisites
- At to the lowest degree 20 GB of deejay space
- At least 1 GB of RAM (preferably 2) for i386 and amd64 architectures
- VirtualBox (or alternative virtualization software)
Steps For Installing Kali Linux on VirtualBox
Since these instructions take yous through the installation procedure in a virtual surround, yous need to ensure yous have ane prepare on your system. In this article, nosotros are using VirtualBox, as it is a simple to use, open-source virtualization solution.
In case you exercise not have VirtualBox installed, use this pace-by-footstep VirtualBox installation guide.
Step ane: Download Kali Linux ISO Image
On the official Kali Linux website downloads section, you tin notice Kali Linux .iso images. These images are uploaded every few months, providing the latest official releases.
Navigate to the Kali Linux Downloads page and find the packages available for download. Depending on the system y'all accept, download the 64-Scrap or 32-Bit version.

Stride 2: Create Kali Linux VirtualBox Container
After downloading the .iso image, create a new virtual machine and import Kali every bit its OS.
1. Launch VirtualBox Managing director and click the New icon.
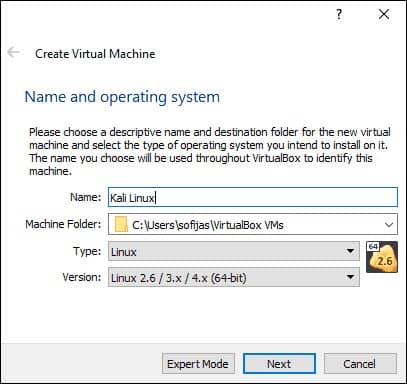
2. Name and operating system. A pop-up window for creating a new VM appears. Specify a proper noun and a destination folder. The Type and Version modify automatically, based on the name yous provide. Make certain the data matches the package you downloaded and click Next.
3. Memory size. Choose how much memory to classify to the virtual automobile and click Side by side. The default setting for Linux is 1024 MB. However, this varies depending on your individual needs.
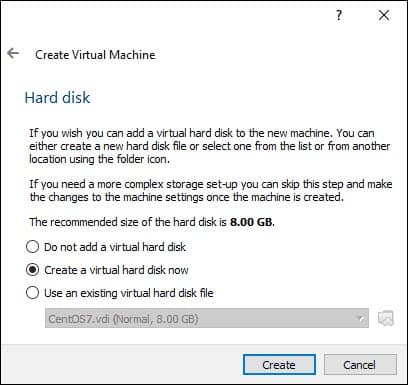
4. Hard disk. The default option is to create a virtual hd for the new VM. Click Create to proceed. Alternatively, yous tin utilize an existing virtual hard deejay file or decide not to add one at all.
five. Difficult disk file type. Stick to the default file blazon for the new virtual hard deejay, VDI (VirtualBox Disk Image). Click Next to continue.
6. Storage on a physical hd. Decide between Dynamically allocated and Fixed size. The first choice allows the new hd to grow and make full space dedicated to information technology. The second, fixed size, uses the maximum capacity from the first. Click Next.
7. File location and size. Specify the name and where you want to store the virtual difficult deejay. Cull the amount of file data the VM is allowed to store on the hard disk. We advise giving information technology at to the lowest degree 8 GB. Click Create to cease.
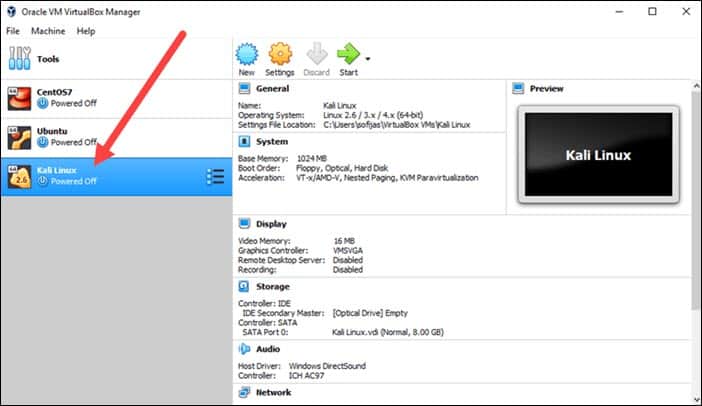
Now you lot created a new VM. The VM appears on the list in the VirtualBox Manager.
Footstep iii: Configure Virtual Car Settings
The next stride is adjusting the default virtual auto settings.
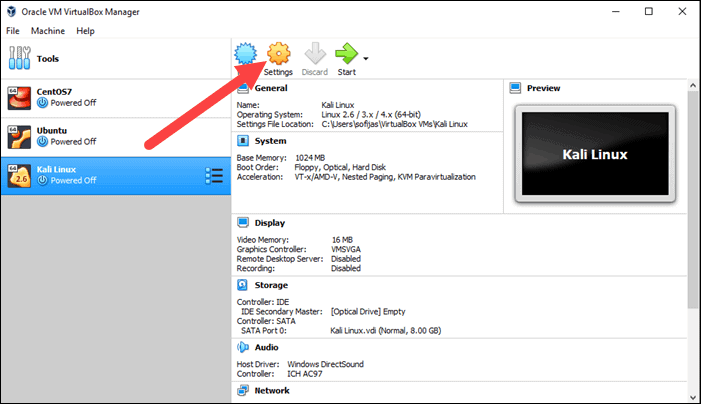
1. Select a virtual machine and click the Settings icon. Make sure you lot marked the right VM and that the right-hand side is displaying details for Kali Linux.
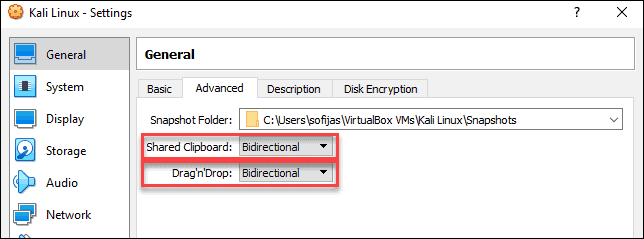
2. In the Kali Linux – Settings window, navigate to General > Advanced tab. Change the Shared Clipboard and Drag'north'Drop settings to Bidirectional. This feature allows you to copy and paste between the host and guest machine.
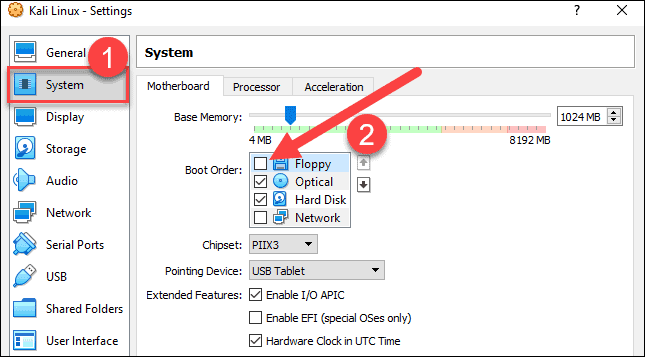
iii. Go to System > Motherboard. Set the boot order to start from Optical, followed by Hard disk drive. Uncheck Floppy every bit information technology is unnecessary.
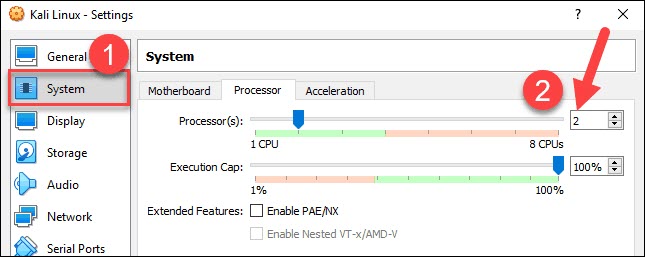
iv. Next, move to the Processor tab in the same window. Increment the number of processors to two (ii) to enhance operation.
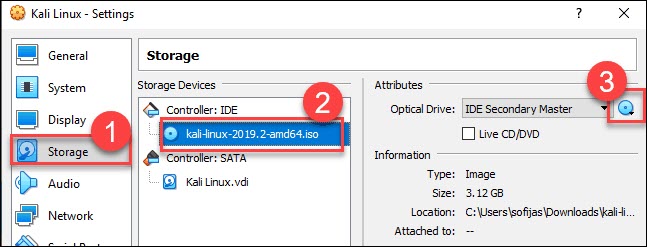
five. Finally, navigate to Storage settings. Add the downloaded Kali image to a storage device under Controller: IDE. Click the deejay icon to search for the prototype. Once finished, close the Settings window.
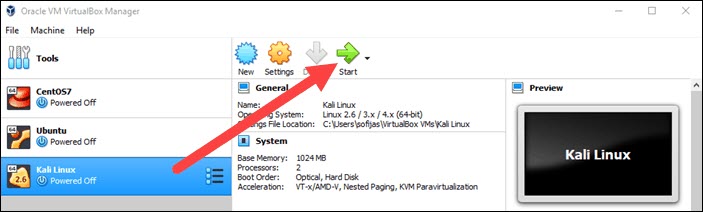
six. Click the Start icon to begin installing Kali.
Stride iv: Installing and Setting Upwardly Kali Linux
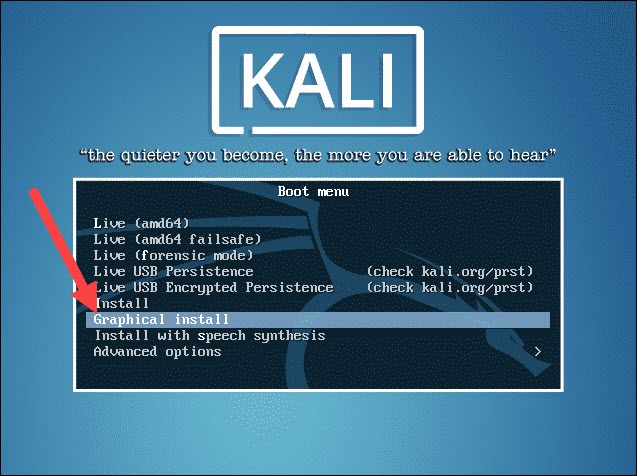
Afterward you booted the installation menu by clicking Start, a new VM VirtualBox window appears with the Kali welcome screen.
Select the Graphical install pick and go through the following installation steps forsetting up Kali Linux in VirtualBox.
i. Select a language. Cull the default language for the organisation (which will too be the language used during the installation procedure).
2. Select your location. Find and select your land from the list (or choose "other").
3. Configure the keyboard. Decide which keymap to use. In near cases, the best option is to select American English.
4. Configure the network. Outset, enter a hostname for the system and click Continue.
5. Next, create a domain name (the part of your internet address later on your hostname). Domain names usually cease in .com, .net, .edu, etc. Brand certain you use the same domain name on all your machines.
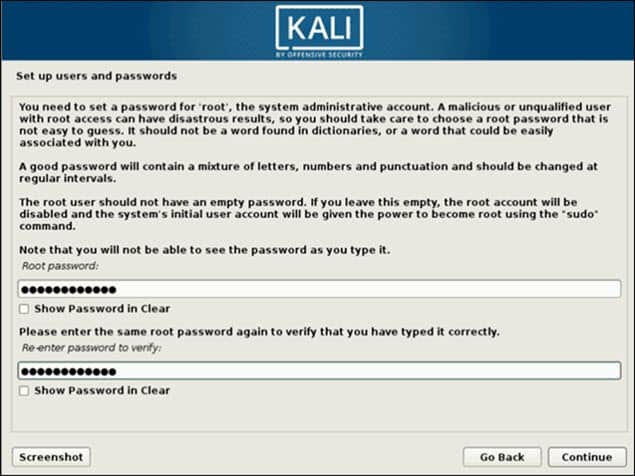
half-dozen. Fix users and passwords. Create a stiff root password for the organization administrator account.
vii. Configure the clock. Select your time zone from the available options.
8. Sectionalisation disks. Select how you would like to partition the hard disk. Unless you have a proficient reason to exercise it manually, become for the Guided –use entire disk option.
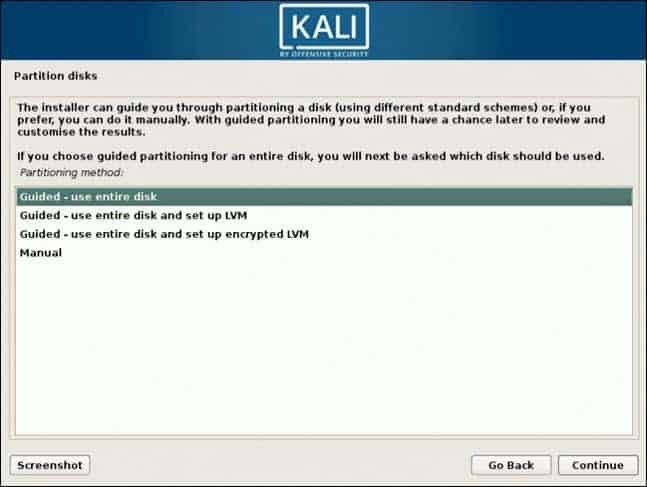
9. Then, select which deejay y'all desire to use for partitioning. As you created a single virtual difficult deejay in Step 3: Adjust VM Settings, yous do not have to worry nigh data loss. Select the only available option – SCSI3 (0,0,0) (sda) – 68.vii GB ATA VBOK HARDDISK (the details after the nuance vary depending on your virtualization software).
10. Next, select the scheme for partitioning. If you are a new user, get for All files in ane partition.
11. The sorcerer gives you an overview of the configured partitions. Go on by navigating to End partitioning and write changes to deejay. Click Proceed and confirm with Yes.
12. The wizard starts installing Kali. While the installation bar loads, boosted configuration settings announced.
13. Configure the package manager. Select whether you desire to use a network mirror and click Continue. Enter the HTTP proxy data if you lot are using one. Otherwise, get out the field blank and click Continue once more.
14. Install the Grub boot loader on a hard disk. Select Aye and Continue. Then, select a kicking loader device to ensure the newly installed system is bootable.
15. Once you receive the message Installation is complete, click Continue to reboot your VM.
With this, yous have successfully installed Kali Linux on VirtualBox. After rebooting, the Kali login screen appears. Blazon in a username (root) and password you entered in the previous steps.
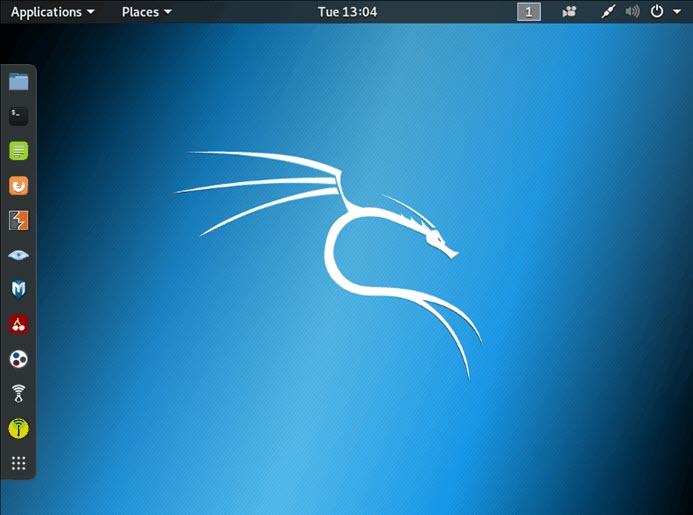
Finally, the interface of Kali Linux appears on your screen.
Decision
With this guide, y'all accept learned how to install Kali Linux in VirtualBox. We also covered setup and configuring to showtime penetration and security testing.
If you are just starting with penetration testing, we suggest you read our commodity on penetration testing types and techniques.
Was this commodity helpful?
Yes No

Source: https://phoenixnap.com/kb/how-to-install-kali-linux-on-virtualbox
Posted by: nealunte1965.blogspot.com
0 Response to "How To Download Kali Linux On Windows"
Post a Comment